Creating a cube template to cut out can be a fun and creative project for both kids and adults. Whether you need a cube template for a school project, a decoration, or just for fun, making your own template is simple and easy.
All you need is some paper, scissors, and a printer to get started. Once you have your materials ready, you can follow these simple steps to create your own cube template.

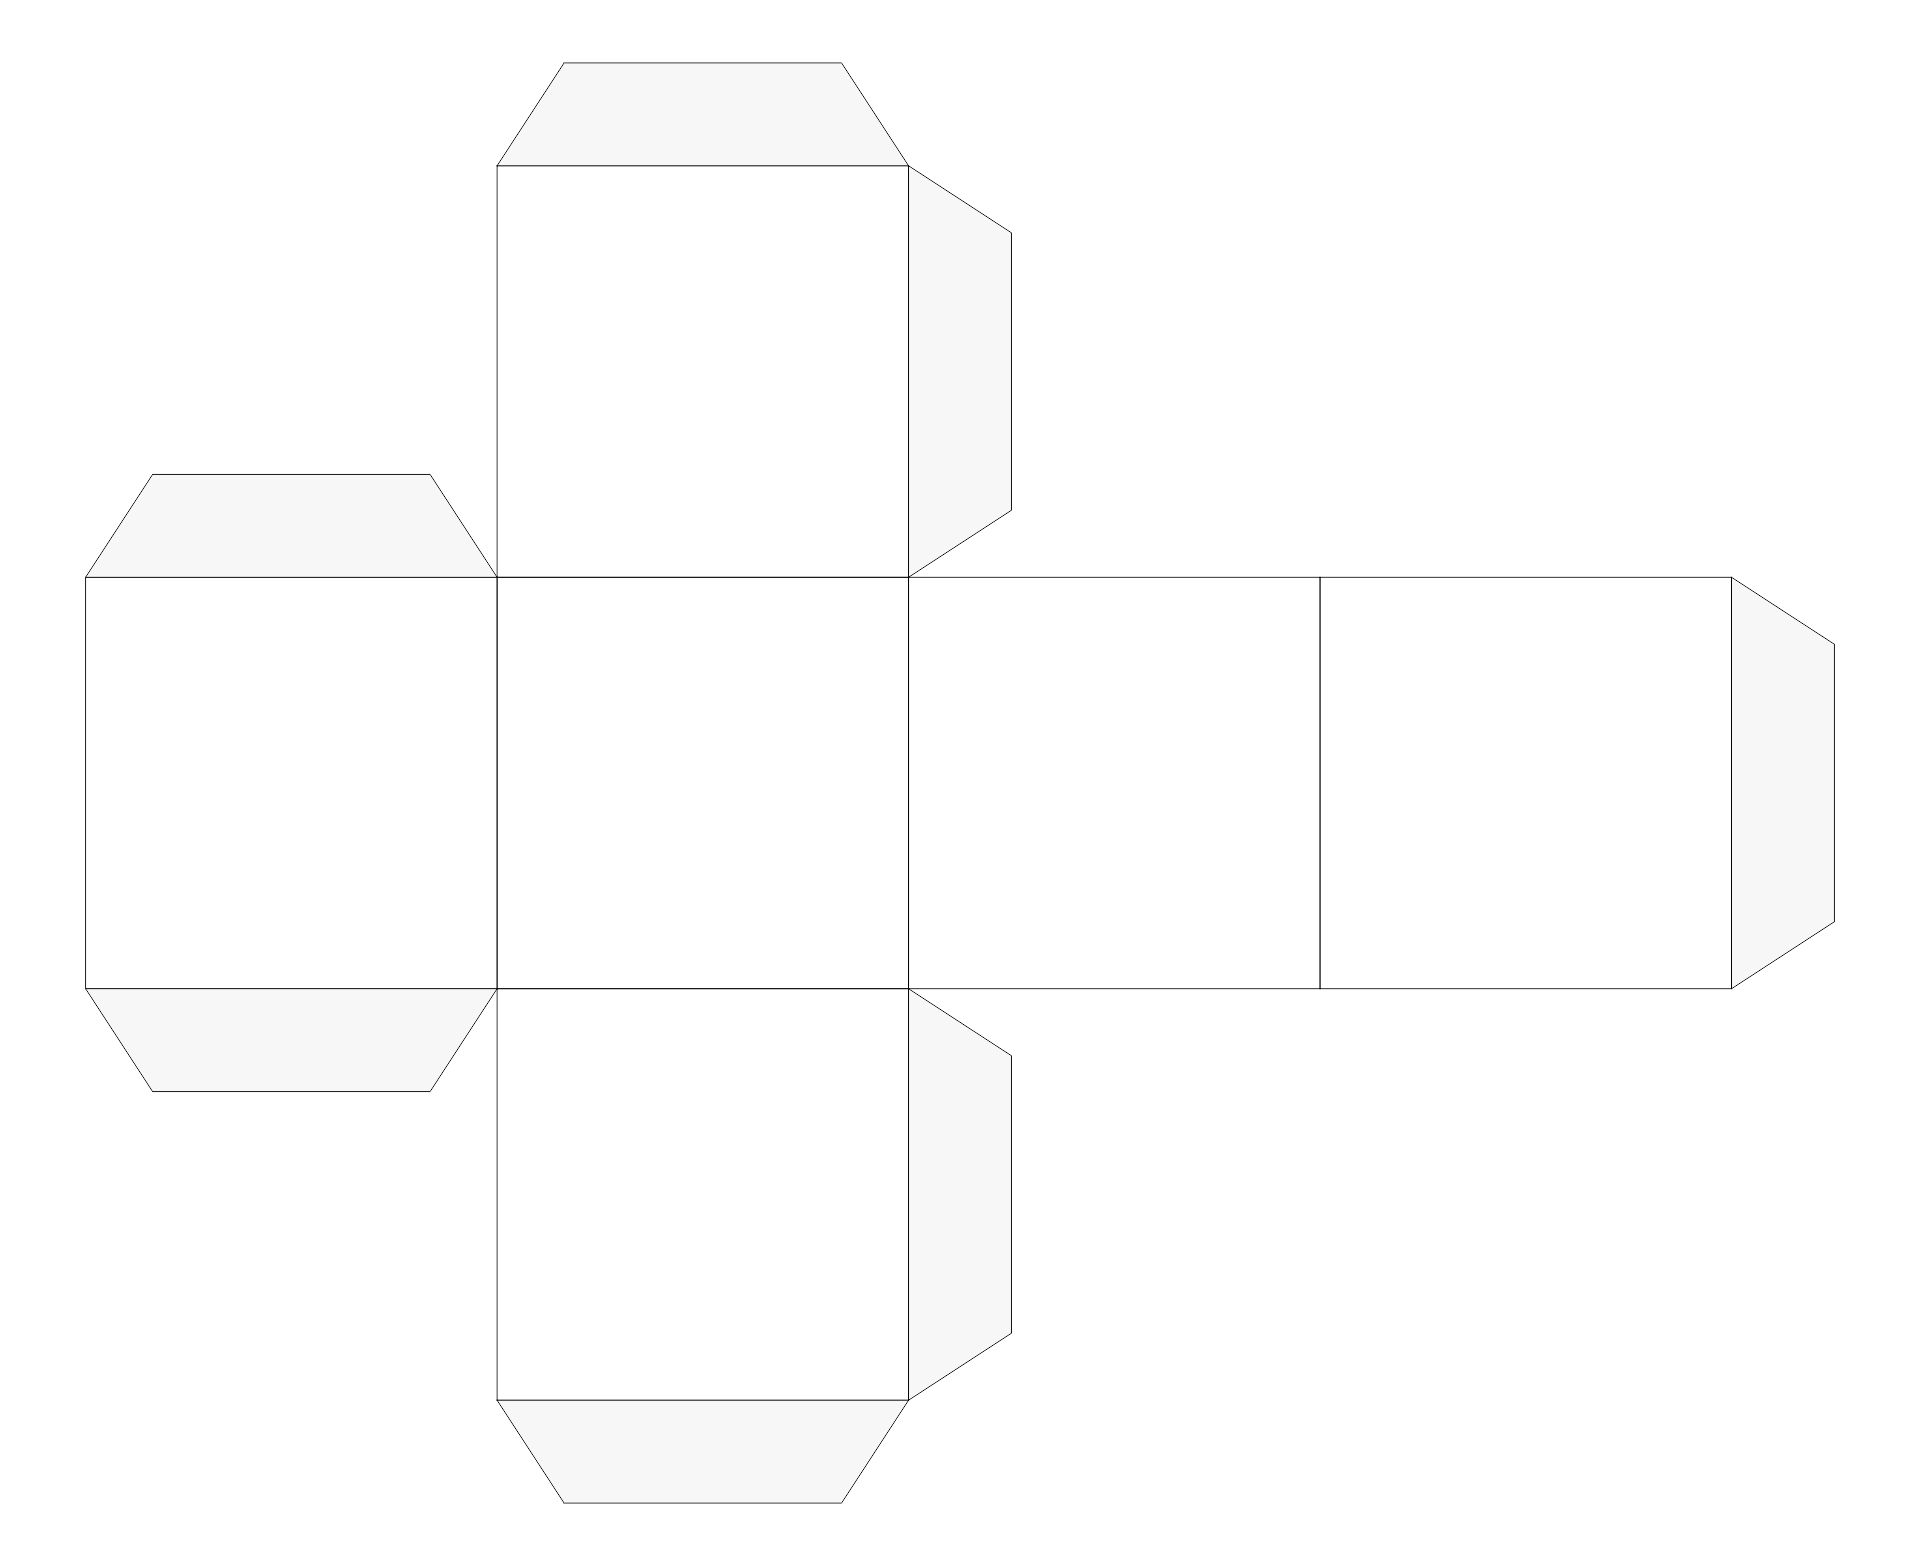
Cube Template to Cut Out
To create a cube template, start by drawing a square on a piece of paper. The size of the square will determine the size of your cube, so make sure to measure and draw it accurately. Once you have your square, divide each side into three equal parts. Connect the marks to create a grid of nine smaller squares.
Next, cut out the square along the outer lines. Fold along the grid lines to create the sides of the cube. Use glue or tape to secure the edges together, forming a cube shape. You can also add decorations or designs to your cube template to personalize it further.
Once your cube template is complete, you can use it for a variety of purposes. You can use it as a gift box, a decoration, or even as a math manipulative for learning shapes and geometry. The possibilities are endless!
Overall, creating a cube template to cut out is a fun and easy project that allows you to unleash your creativity. So grab some paper and scissors, and start crafting your very own cube template today!
With just a few simple steps, you can create a cube template to cut out that is perfect for any occasion. Whether you need a cube for a school project or just want to add some flair to your home decor, making your own cube template is a great way to get creative and have fun.